


Quick Takeaway
SSD and Storage Optimization is not about installing random “PC booster” software or changing every Windows setting you can find. The real goal is simple: keep enough free space, make sure TRIM works, keep firmware current, monitor drive health, reduce unnecessary writes, and fix the actual cause of slow storage.
SSD and Storage Optimization also depends on how the drive is used. A gaming PC, office laptop, video-editing workstation, and everyday family computer do not create the same storage workload.
The best approach is to diagnose the problem first and optimize only the settings that can make a useful difference.
Introduction
Modern SSDs can make a computer feel dramatically faster than an old hard drive. Windows can boot quickly, applications can open almost instantly, and large files can move much faster. But an SSD can still become slower when the drive gets crowded, background workloads become heavy, firmware becomes outdated, or the system is not managing deleted data correctly.
That is where SSD and Storage Optimization becomes useful. Instead of chasing one magic setting, you need a simple maintenance system that protects performance without creating unnecessary risk.
It also separates useful optimization from outdated advice, so you can improve your storage without blindly changing Windows or BIOS settings.
What Is SSD and Storage Optimization?
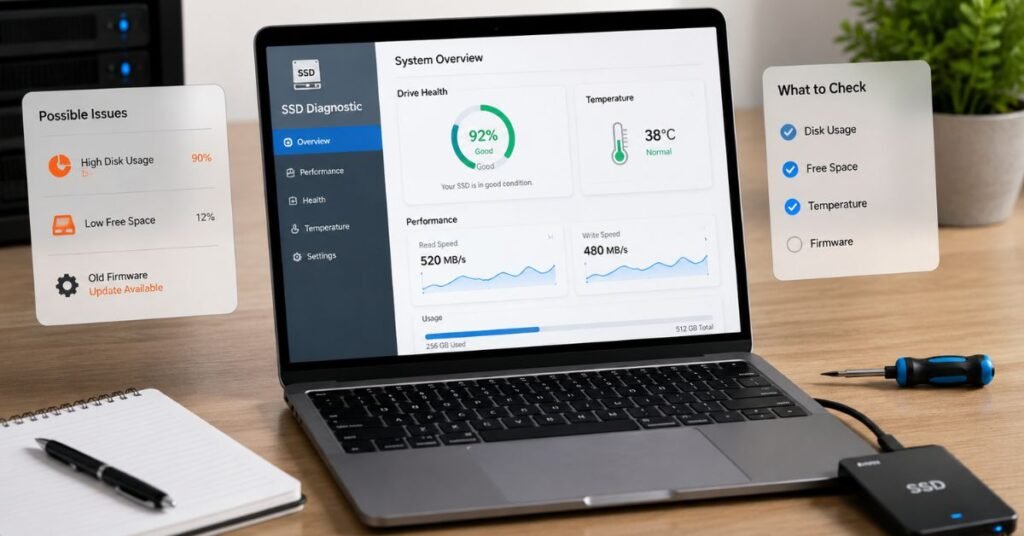
SSD and Storage Optimization means managing an SSD and the surrounding operating system so the drive can maintain good performance, available space, health, and reliability over time.
An SSD stores data differently from a traditional hard disk. It uses flash memory instead of spinning magnetic platters. Because of that difference, many old HDD maintenance habits do not apply in the same way.
A good optimization routine normally covers five areas:
- Storage capacity
- TRIM and garbage collection
- Firmware and drive health
- Write workload
- System and application behavior
The important point is that optimization should not mean “change everything.” Modern operating systems already handle many storage tasks automatically. Your job is mainly to verify that the important functions are working and remove problems that create unnecessary load.
SSD vs HDD Optimization
An HDD can benefit from traditional defragmentation because its mechanical read head works better when related file fragments are arranged efficiently.
An SSD has no moving read head. It uses electronic memory instead. Windows therefore treats SSD optimization differently from HDD defragmentation.
This distinction matters because manually forcing traditional defragmentation on an SSD is not a smart everyday maintenance strategy. Windows already knows how to handle supported SSD optimization tasks.
Step 1: Check What Is Actually Making the SSD Slow
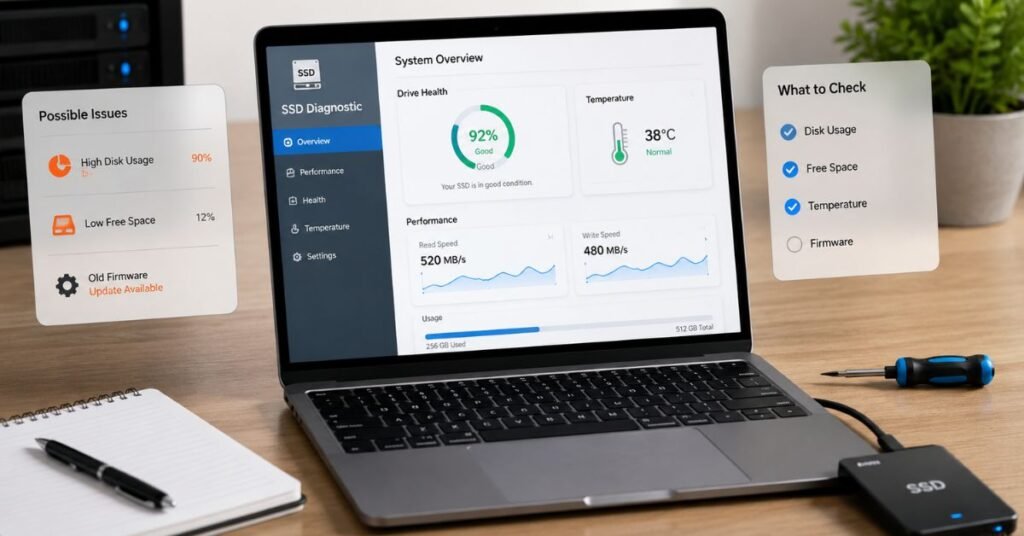
Before changing anything, find the problem.
A slow computer does not automatically mean the SSD is slow. CPU usage, RAM pressure, malware scans, Windows updates, browser activity, cloud synchronization, and startup applications can all make a system feel sluggish.
Use Task Manager First
On Windows, press:
Ctrl + Shift + Esc
Open the Performance section and select the disk.
Watch the drive while the slowdown happens.
Pay attention to:
- Active time
- Read speed
- Write speed
- Response time
- Overall system activity
A drive showing very high active time with low transfer speed may be dealing with many small operations rather than one large file transfer.
This simple check prevents a common mistake: replacing or modifying the SSD when another part of the system is causing the slowdown.
Check Available Storage
Open File Explorer → This PC and look at the system drive.
If the SSD is nearly full, start there.
Large downloads, old installers, duplicate videos, game files, temporary data, and unused applications can consume space without providing any value.
Step 2: Keep Enough Free Space
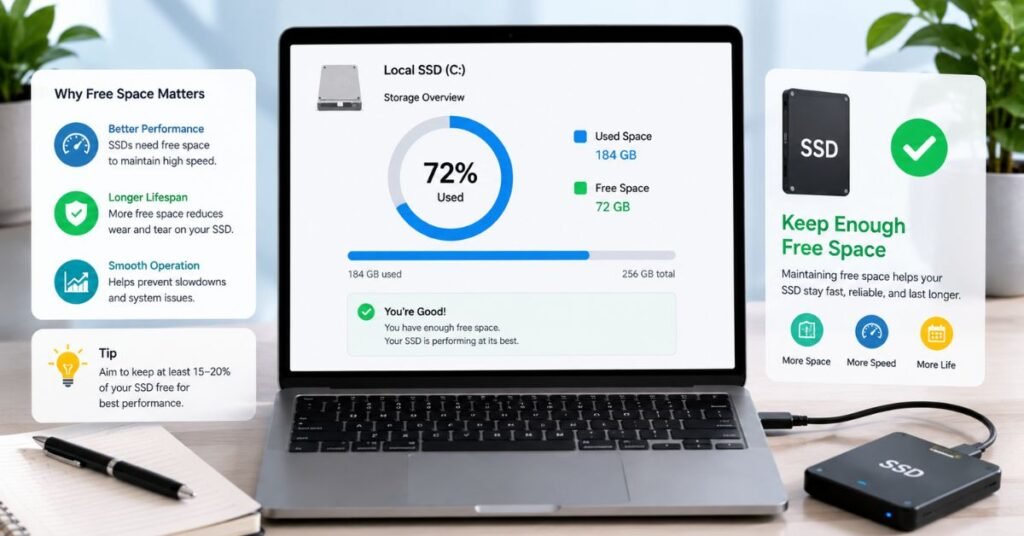
One of the easiest improvements in SSD and Storage Optimization is maintaining healthy free space.
SSDs need a working room for internal management. When a drive becomes heavily filled, the controller has fewer free blocks available and may need to perform more internal work during write operations.
There is no universal magic percentage that fits every SSD, but keeping a comfortable amount of free space is a sensible habit. For a typical consumer system, aiming for roughly 15–20% free space gives you useful breathing room.
What Should You Remove?
Start with large files that you no longer need.
Check:
- Downloads
- Recycle Bin
- Old installers
- Temporary files
- Unused games
- Large video files
- Duplicate backups
- Old virtual machines
- Applications you no longer use
Do not delete system folders simply because they look large.
Instead, use Windows storage tools to identify what is consuming space.
Move Large Files When Appropriate
If your SSD is mainly a system drive, consider moving archives, movies, old photos, and large backups to another drive.
This does not mean every file should leave the SSD. Frequently used applications and active projects can remain on the fast drive.
The goal is balance, not maximum empty space.
Step 3: Make Sure TRIM Is Working
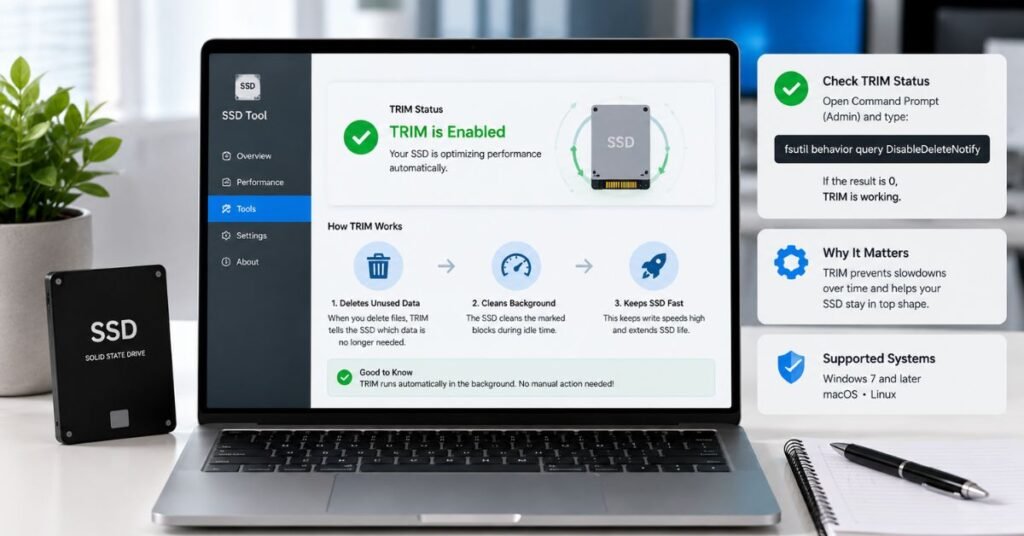
TRIM is one of the most important SSD features to understand.
When you delete a file, the operating system knows that the file is no longer needed. TRIM allows the operating system to communicate that information to a compatible SSD.
This helps the drive prepare unused blocks for future writes.
How to Check TRIM in Windows
Open Command Prompt as Administrator and run:
How to Check TRIM in Windows
If the result indicates that TRIM is enabled, Windows is configured to send the relevant delete notifications.
Do not repeatedly force TRIM just because you found a command online. Windows already manages SSD optimization automatically on supported configurations.
Why TRIM Matters
Without proper space reclamation, the SSD may have to deal with blocks that contain data the operating system has already discarded.
TRIM does not magically increase the advertised speed of an SSD. Its value is in helping the drive manage unused storage efficiently.
Step 4: Let Windows Handle SSD Optimization
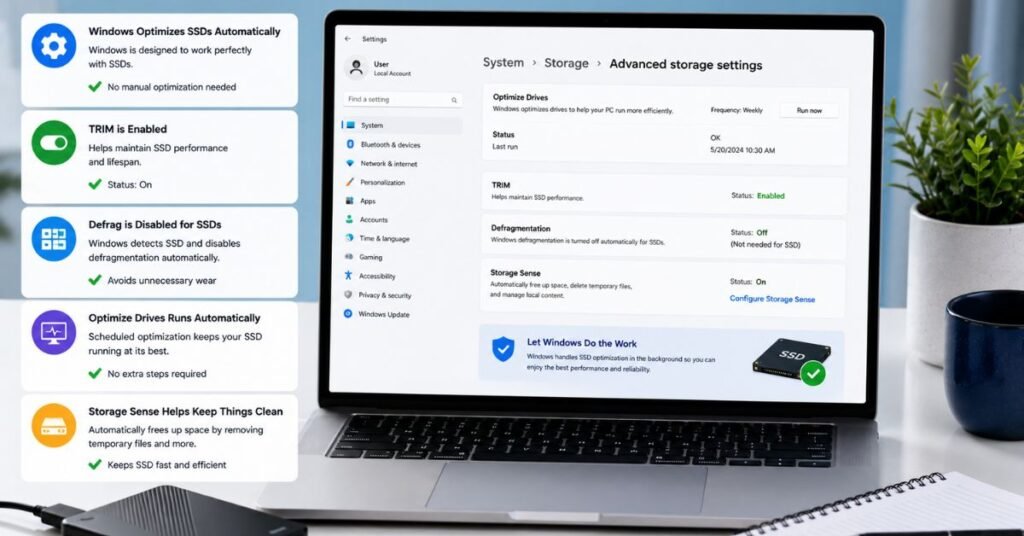
Windows includes Defragment and Optimize Drives.
Search for:
Defragment and Optimize Drives
Select your SSD and check its status.
For SSDs, Windows uses optimization appropriate to the drive rather than treating the device like a traditional mechanical hard drive. Microsoft specifically explains that SSD optimization involves TRIM rather than ordinary HDD style defragmentation.
Should You Disable Scheduled Optimization?
Usually, no.
If Windows is correctly identifying the drive as an SSD, its built in scheduled maintenance is generally preferable to manually running random third party optimization routines.
The best rule is simple:
Let Windows manage routine SSD optimization unless you have a specific reason to troubleshoot it.
Step 5: Update SSD Firmware Carefully
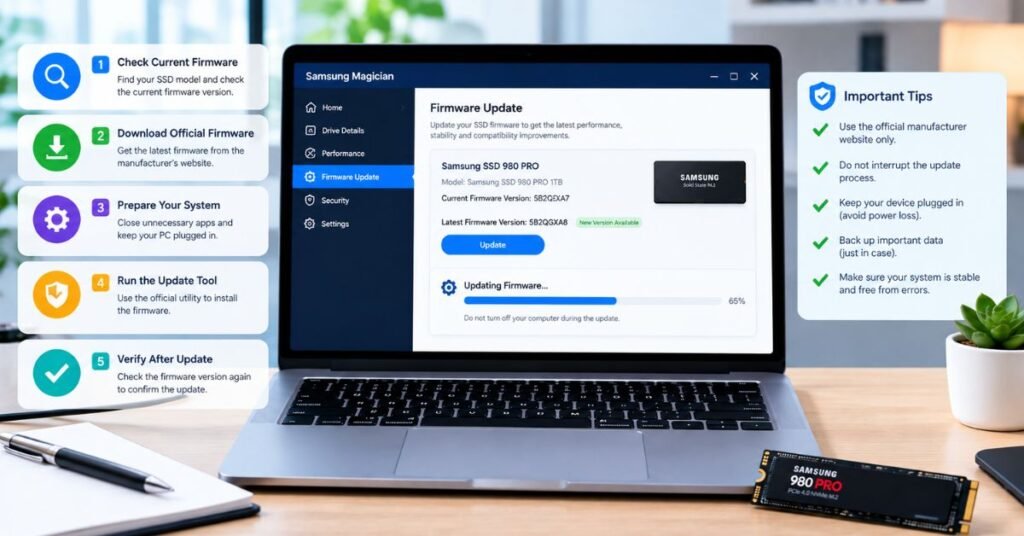
Firmware is the low level software that controls how an SSD operates.
Manufacturers can release firmware updates to fix bugs, improve compatibility, improve stability, or address specific performance issues.
How to Update Safely
First identify your SSD model.
Then use the manufacturer’s official management software or support page.
Before updating:
- Back up important files.
- Confirm the exact SSD model.
- Read the firmware release notes.
- Connect a laptop to reliable power.
- Do not interrupt the update.
- Restart the computer if the tool requires it.
Never install firmware meant for a different model.
Firmware updates can be useful, but “newer” should not automatically mean “install immediately.” Read the release information first.
Step 6: Monitor SSD Health and Temperature
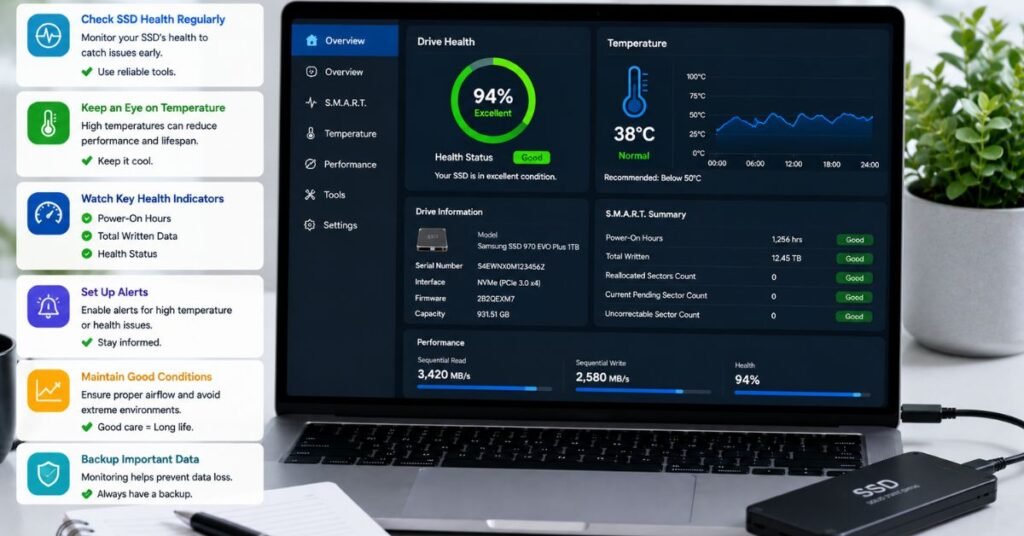
Good SSD and Storage Optimization also means watching the drive before it develops a serious problem.
Most SSD manufacturers provide software that can show useful information such as:
- Drive health
- Temperature
- Firmware version
- Total data written
- Available spare capacity
- SMART information
Why Temperature Matters
Heat can affect storage performance and long-term reliability.
NVMe SSDs can become particularly warm during sustained workloads such as:
- Large file transfers
- Video editing
- Game installations
- Large software builds
- Virtual machines
- Heavy data processing
Some drives reduce performance temporarily when temperatures become too high. This behavior is called thermal throttling.
When Should You Investigate?
If your SSD becomes unusually hot or performance drops during long transfers, check airflow and cooling.
For an M.2 NVMe drive, make sure the heatsink is installed correctly if your motherboard provides one.
Do not assume that adding a larger heatsink is always necessary. First identify whether temperature is actually causing the problem.
Step 7: Reduce Unnecessary Write Workloads
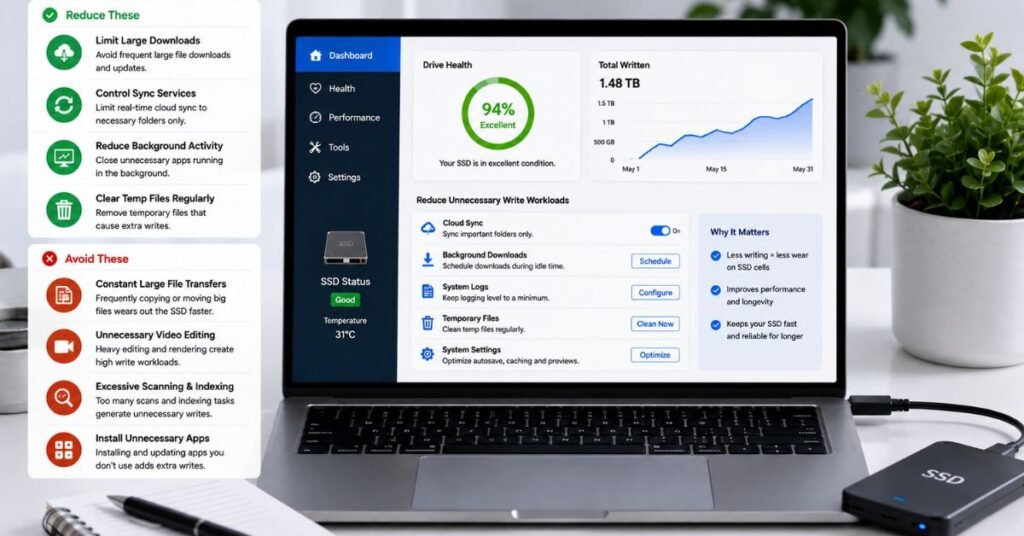
SSD flash memory has finite write endurance. Modern SSDs are designed for substantial workloads, so normal everyday use is not something you should fear.
Still, unnecessary write activity is worth reducing.
Examples of Heavy Write Sources
Common examples include:
- Constant video recording
- Large temporary files
- Excessive application caches
- Frequent virtual machine activity
- Huge download folders
- Repeated scratch disk workloads
- Continuous logging applications
You do not need to eliminate every write.
Instead, focus on unusual or avoidable workloads.
Do Not Disable Useful Windows Features Without a Reason
A common mistake is following old guides that recommend disabling several Windows features simply to “save SSD life.”
Modern SSDs are designed for regular workloads. Turning off useful system features can create new problems while providing little practical benefit.
Optimize based on actual usage, not fear.
Step 8: Choose the Right Storage Setup
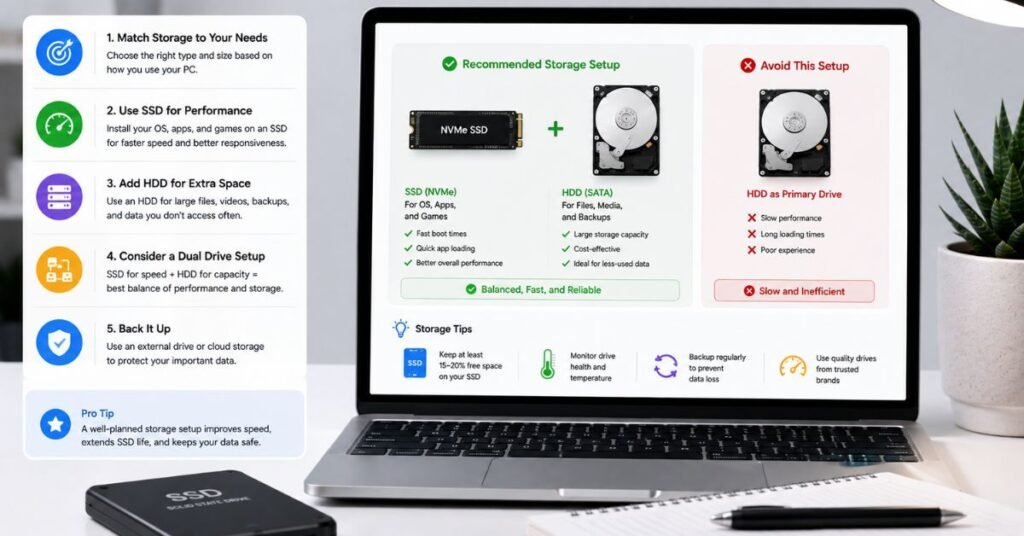
Not every storage task needs the fastest SSD.
A practical setup might look like this:
| Storage Task | Recommended Approach | Main Reason |
| Windows and daily apps | SSD | Fast boot and responsiveness |
| Games | NVMe SSD when possible | Fast loading |
| Active video projects | Fast SSD | High sustained workload |
| Large media archive | HDD or secondary storage | More capacity per cost |
| Backups | Separate drive/cloud | Protects against drive failure |
| Temporary downloads | System or secondary drive | Easy management |
| Long-term archive | Separate storage | Keeps main SSD less crowded |
The key lesson is that storage optimization is also workload optimization.
If you use one small SSD for Windows, games, video editing, downloads, backups, and virtual machines, it can become crowded quickly.
Splitting workloads can make the entire system easier to manage.
Step 9: Optimize Windows Storage Without Breaking It
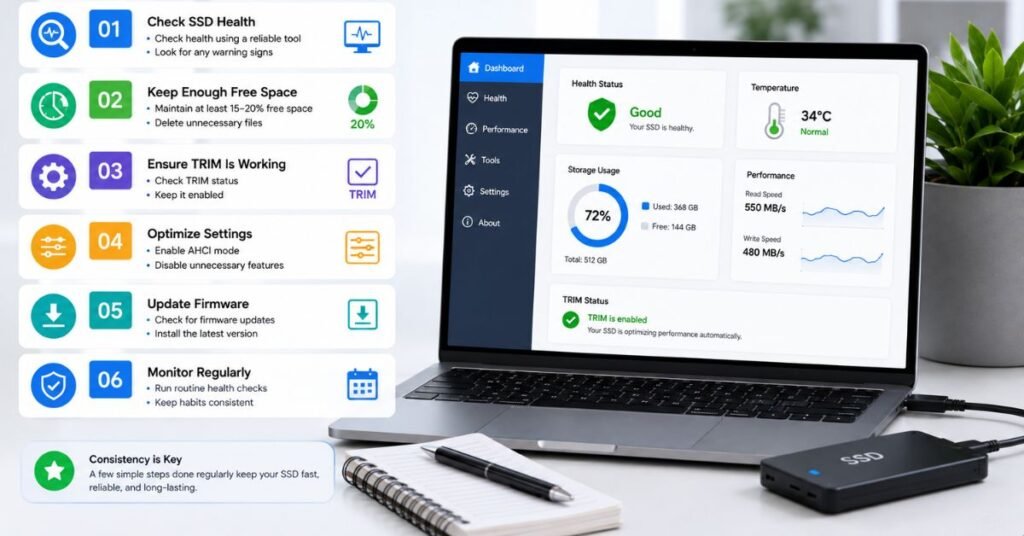
The final stage of SSD and Storage Optimization is cleaning up the operating system around the drive.
Start with simple changes.
Reduce Startup Applications
Too many startup applications can make Windows feel slow even when the SSD is perfectly healthy.
Open Task Manager and review Startup apps.
Disable applications you do not need immediately after login.
Do not disable unknown system components just because they appear in the list.
Remove Unused Software
Uninstall programs you no longer use.
This creates storage space and can also reduce background services.
Keep Windows Updated
Windows updates can include storage driver, compatibility, security, and system performance improvements.
Do not treat every update as a performance problem.
Keep Backups Separate
Optimization cannot protect you from accidental deletion, ransomware, controller failure, or physical damage.
A backup is not an optimization tool. It is a recovery tool.
You need both.
A Simple Step by Step SSD Optimization Routine
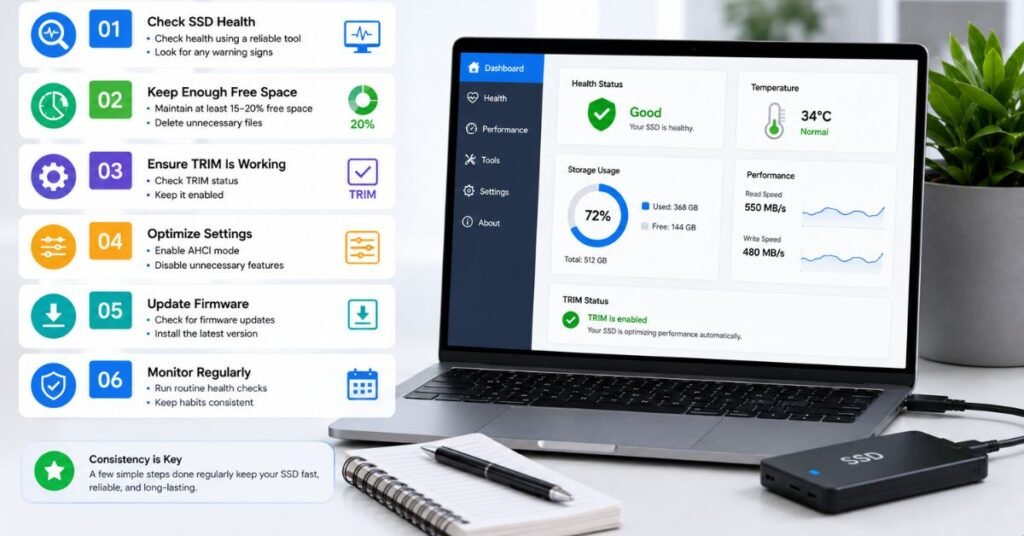
If you want a practical routine, follow this order:
Step 1: Identify the SSD
Find the exact model and capacity.
Step 2: Check free space
If the drive is nearly full, clean or move large files.
Step 3: Check health
Use the manufacturer’s utility or a trusted SMART monitoring tool.
Step 4: Verify TRIM
Confirm that Windows is configured correctly.
Step 5: Check Windows optimization
Open Defragment and Optimize Drives and confirm Windows recognizes the SSD correctly.
Step 6: Check firmware
Look for an official firmware update from the SSD manufacturer.
Step 7: Review temperatures
Check whether heat appears during heavy workloads.
Step 8: Review background writes
Look for applications constantly writing large amounts of data.
Step 9: Test performance again
Compare the system before and after optimization.
This order is important because it moves from low risk checks to more specific troubleshooting.
Real Life Example: A Nearly Full SSD
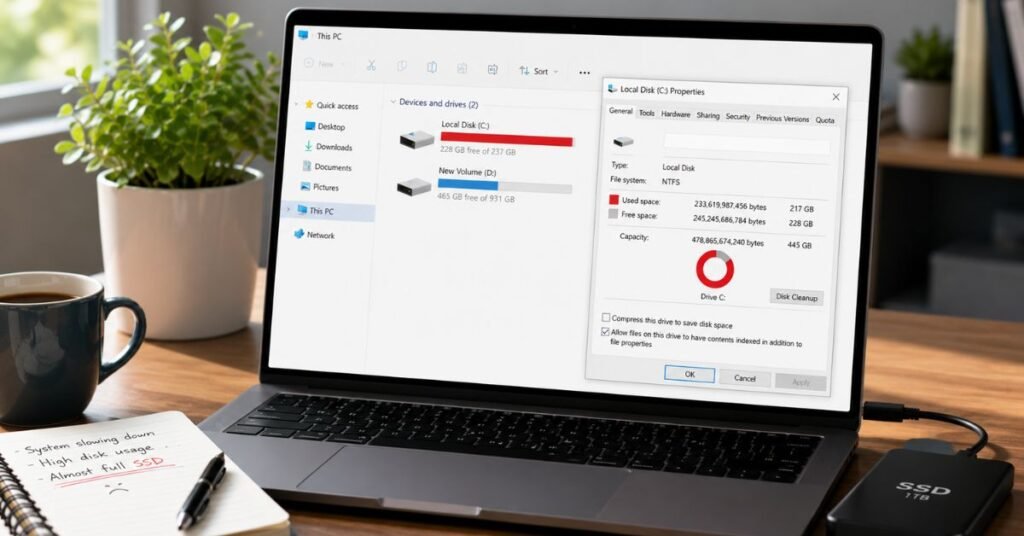
Imagine a laptop with a 1TB NVMe SSD.
The owner notices that Windows takes longer to respond, applications open slowly, and large file transfers fluctuate.
The first assumption is that the SSD is failing.
A basic check reveals something else.
The drive is almost full because it contains old video projects, game installers, downloads, and backup files.
After moving inactive files to secondary storage, deleting unnecessary data, checking TRIM, confirming Windows optimization, and checking SSD health, the system becomes more responsive.
The important lesson is not that deleting files “makes every SSD faster.”
The lesson is that diagnosis comes first.
The same symptoms can come from different causes.
Common SSD Optimization Mistakes to Avoid
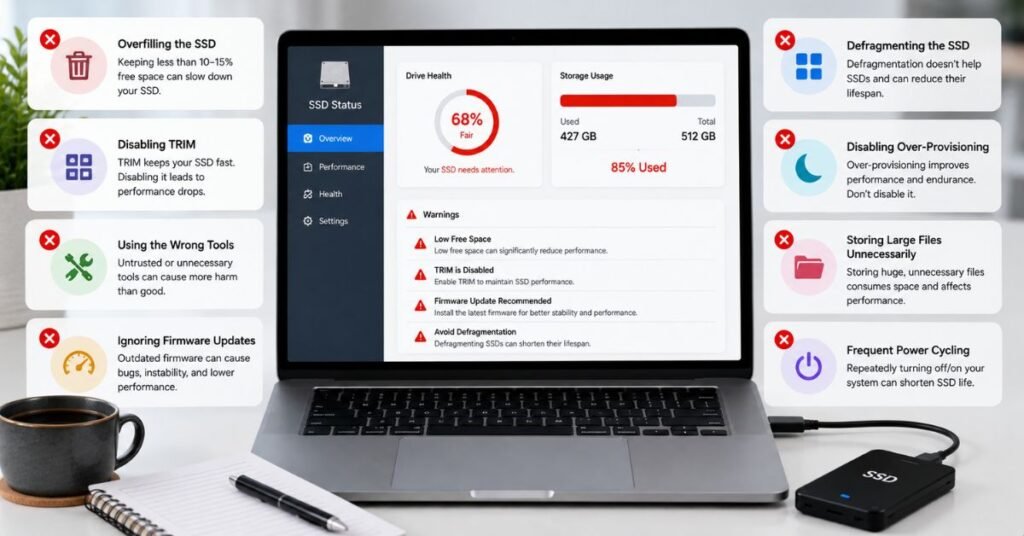
Mistake 1: Treating an SSD Like an HDD
Traditional HDD advice does not automatically apply to SSDs.
Mistake 2: Filling the Drive Completely
A nearly full SSD gives itself less room for normal storage management.
Mistake 3: Using Random Optimization Software
Many “SSD booster” applications make aggressive claims without providing meaningful benefits.
Mistake 4: Disabling TRIM
TRIM is an important part of modern SSD storage management. Do not disable it without a specific troubleshooting reason.
Mistake 5: Changing BIOS Storage Mode Carelessly
Changing SATA controller settings on an existing Windows installation can cause boot problems if the system is not prepared correctly.
Mistake 6: Ignoring Backups
A healthy SSD can still fail.
Mistake 7: Obsessing Over Write Counts
Normal consumer workloads are not automatically dangerous.
Mistake 8: Ignoring Heat
A drive that repeatedly throttles under load may need better airflow or cooling.
Mistake 9: Changing Too Many Settings at Once
If you change ten things simultaneously, you will not know which change helped or caused a problem.
How to Build a Long Term SSD Maintenance Plan
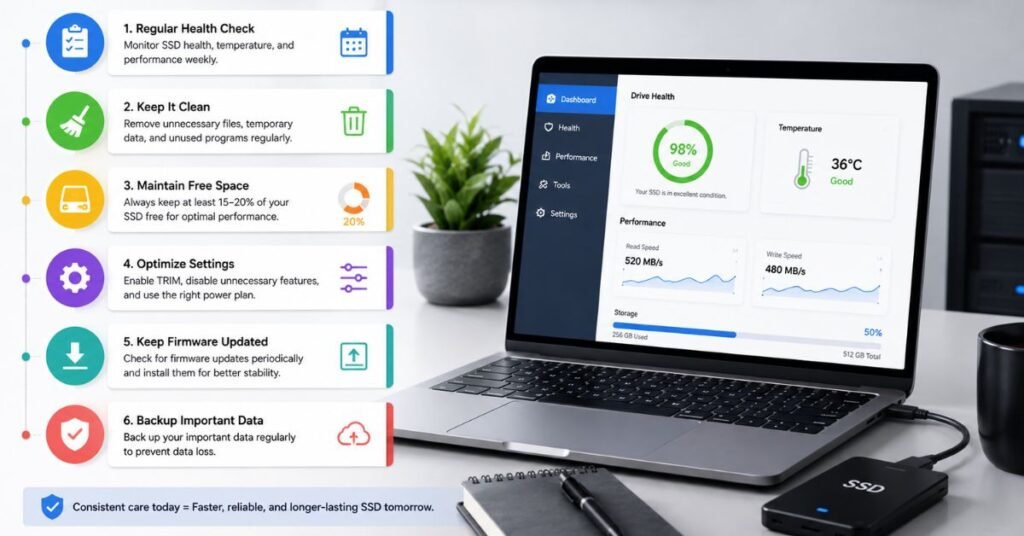
You do not need to spend hours maintaining an SSD every week.
A simple routine works better.
Monthly
Check:
- Free storage space
- Unusual system slowdowns
- Large unnecessary files
- SSD temperature during heavy workloads
Every Few Months
Check:
- SSD health
- Firmware
- SMART information
- Backup status
- Large applications and unused files
When Performance Drops
Do not immediately reinstall Windows.
First check:
- Free space
- Task Manager disk activity
- SSD health
- Temperature
- TRIM
- Firmware
- Background applications
This turns storage troubleshooting into a repeatable process instead of guesswork.
Author Note
The most useful lesson from practical SSD maintenance is that optimization should be measured, not extreme.
A healthy SSD does not need dozens of registry tweaks or mysterious “boost” settings. Modern Windows already handles many storage operations automatically. The user’s role is to keep enough space available, monitor health, use proper maintenance features, and investigate unusual behavior before it becomes a serious problem.
If a drive is genuinely failing, optimization cannot repair damaged hardware. In that situation, backup and replacement should take priority over performance tweaking.
Disclaimer
This guide is for general educational purposes. SSD behavior can vary by manufacturer, controller, NAND type, firmware, operating system, motherboard, and workload.
Before changing BIOS storage settings, firmware, partitions, or other advanced options, create a reliable backup of important data.
Do not apply a setting simply because a guide recommends it. If your system is stable and the SSD is healthy, unnecessary changes may provide no meaningful benefit.
Conclusion
SSD and Storage Optimization is less about chasing maximum benchmark numbers and more about keeping the entire storage system healthy. The biggest wins usually come from practical actions: maintain free space, verify TRIM, allow Windows to perform appropriate SSD optimization, keep firmware current when relevant, monitor health and temperature, and reduce unusual workloads.
The most important habit is to diagnose before changing settings. A slow PC may have a storage problem, but it may also have too many startup apps, background activity, low RAM, thermal issues, or a failing component. A structured check helps you find the real cause without creating new problems.
If you follow the routine in this guide, your SSD can remain fast, organized, and easier to monitor for the long term.
FAQs
1. What is SSD and Storage Optimization?
serious problems, prioritize backup and replacement rather than trying more performance tweaks.SSD and Storage Optimization is the process of maintaining an SSD for good speed, free space, health, and reliability. It includes checking TRIM, keeping sufficient free space, monitoring health, updating firmware when appropriate, and controlling unnecessary workloads.
2. Does an SSD need defragmentation?
No. SSDs do not need traditional HDD style defragmentation as a routine maintenance task. Windows handles SSD optimization differently and uses TRIM related maintenance for supported drives.
3. How much free space should I keep on an SSD?
There is no single percentage that applies to every SSD, but keeping around 15–20% free is a practical target for many consumer systems. Heavy workloads may benefit from keeping even more room available.
4. Does TRIM make an SSD faster?
TRIM helps the SSD understand which data blocks are no longer needed by the file system. It supports efficient storage management and can help maintain performance over time.
5. Should I update SSD firmware?
Check the SSD manufacturer’s official software or support page. Firmware updates can improve compatibility, stability, or performance, but you should read the release notes and back up important data before updating.
6. Why does my SSD slow down when it gets hot?
Some SSDs reduce their operating speed when temperatures become too high. This protects the hardware from excessive heat. If slowdowns happen mainly during long workloads, check temperatures and cooling.
7. Can SSD optimization fix a failing drive?
Optimization cannot fix physical or electronic hardware failure. If health-monitoring software reports.